
How to Split a Track into Vocals and Instrumental
Tools used, in order
What you end up with: Two WAV files — vocals and instrumental — from one source track you are allowed to process.
Separating a mixed track into vocals and instrumental sounds like a magic trick until you try it. The results are useful, and they are also noticeably imperfect. Knowing which is which before you start saves an afternoon of disappointment.
What this actually does
The separator runs Kim Vocal 2, a model trained to estimate which parts of a mixed signal belong to a voice and which belong to everything else. It outputs two tracks:
- Vocals — the estimated voice
- Instrumental — everything the model did not classify as voice
Both are WAV files. Nothing is uploaded; the model and runtime download once (about 64 MB) and then run locally.
What it is not: a lossless restoration. The tool's own documentation says separation may leave instruments in the vocal track and may alter the voice. Drums and cymbals in particular bleed into vocals, and heavily processed vocals come out thinner than the original.
Before you start: two limits that shape the workflow
Ten minutes maximum per file. A longer file is rejected. This is the reason the workflow has a trimming step at all — not tidiness, a hard limit.
One file at a time, desktop only. This is a desktop preview, not a batch tool. Feeding it a folder is not an option.
There is also a licensing point worth stating: process audio you own or are licensed to use. Splitting a commercial track does not give you rights to the separated parts.
Step 1: Trim to the part you need
Open the source in the audio trimmer and cut a section under ten minutes.
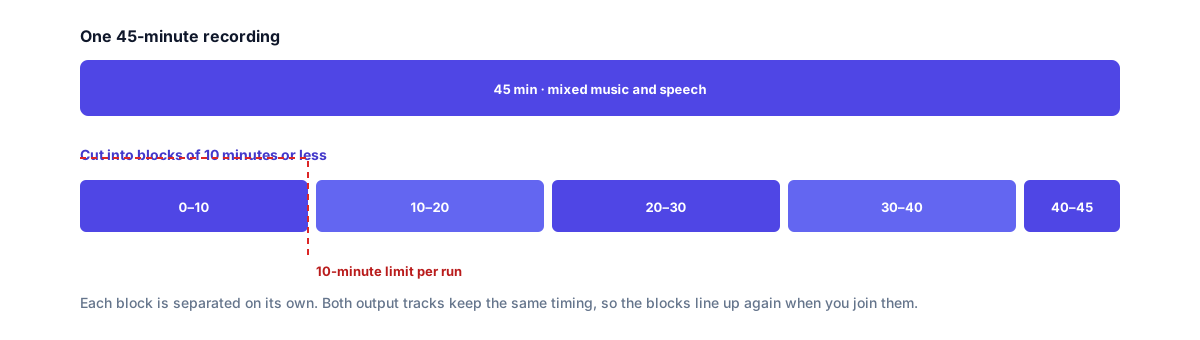
If the section you want is longer than ten minutes, split it into two and process each half. The seams rarely matter for what people use these tracks for.
Two habits help here:
- Cut at a phrase boundary, not mid-word. The model works better on contiguous speech or a coherent musical phrase than on a fragment that starts halfway through a syllable.
- Keep the trimmed file. Re-running separation on the same input gives slightly different results, and you will want a stable reference while comparing.
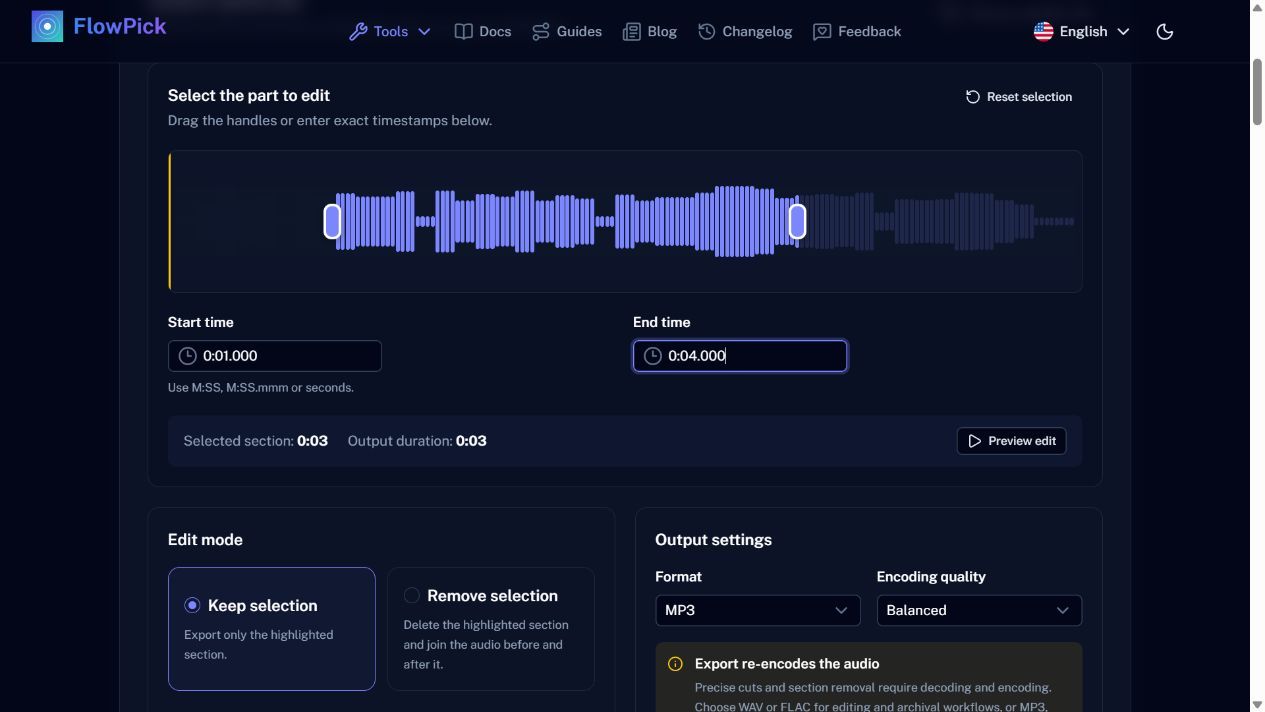
Generated speech sample with 0:01–0:04 selected. This short example demonstrates the controls without implying a ten-minute music test.
Step 2: Preview for 30 seconds before committing
The separator offers a preview of the first 30 seconds. Use it. The full run on CPU can take several times the length of the audio, so finding out the input is bad after twenty minutes of processing is a waste.
In the preview, listen for three things:
Bleed. Play the vocal track and listen for drums, bass or reverb tails. A dense mix leaks; a sparse one usually does not.
Thinning. Play the instrumental and listen for whether the voice is really gone or just quiet. Residual vocal in the instrumental is the most common complaint, and it is normal rather than a bug.
Level. The two tracks are exported with a shared output adjustment so they stay balanced against each other. If one sounds much louder in the preview, that is the mix, not the export.
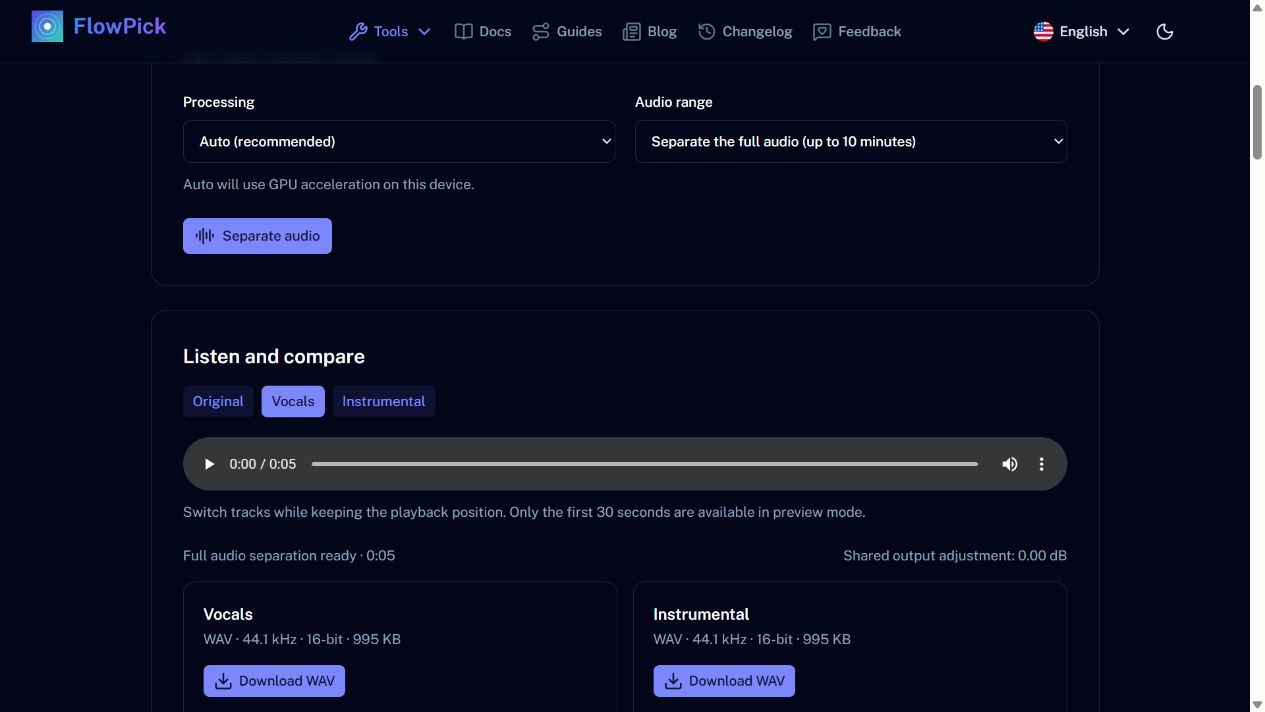
Interface demonstration using generated speech rather than a mixed song. The separated outputs do not establish music separation quality.
Step 3: Run the full section and export
Start the separation and let it finish. GPU acceleration helps when the browser exposes it; on integrated graphics the tool falls back to CPU and warns you that processing may take several times the audio length.
Results are held in temporary browser storage. A refresh can restore them for about ten minutes, but that is a convenience, not a save. Download both WAV files to your device as soon as the run completes.
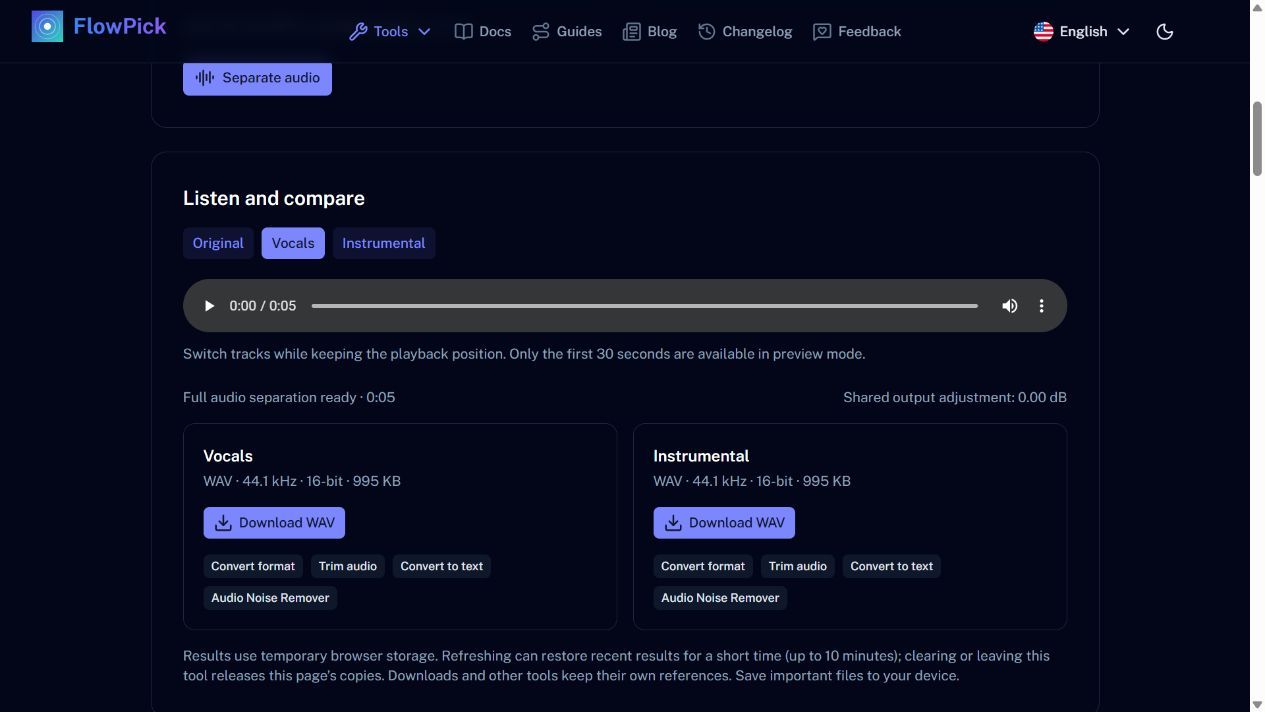
Actual full-file processing of the short generated speech sample. Download both WAV outputs before leaving the workflow.
What people do with the two tracks
- Practice — play along to the instrumental, or sing over it
- Cover or remix — with the instrumental as a backing bed
- Transcript cleanup — send the vocal track to Audio to Text; with less music competing, recognition is usually cleaner
- Format conversion — WAV is large; use Audio Converter to get MP3 or M4A for anything you intend to share
The transcript route is worth calling out because it is the one case where separation measurably improves another tool's output, rather than just producing a file you wanted.
Where this goes wrong
The file is rejected as too long. You skipped trimming, or the trim did not take because the selection was still over ten minutes. The limit counts the trimmed output, not the source.
The vocals sound underwater. Aggressive separation artifacts. Try a different section of the same track; dense passages are harder than sparse ones.
The instrumental still has vocals in it. Expected in most material. Lower the vocal track's contribution is not an option here — if you need a clean instrumental, this tool cannot produce one from a fully mixed master.
Processing never finishes on CPU. Cancel rather than wait; nothing is lost, completed work is discarded and temporary files are released. Trim shorter, or try a machine with a usable GPU.
What you end up with
Two WAV files that are good enough for practice, backing tracks and transcript cleanup, and not good enough to pass as a studio stem. That distinction is the honest summary of what separation at this level does.